


Setting Up Microsoft 365 Email on Android
Before You Start
What You'll Need
Before setting up Outlook on your Android device, make sure you have:
- Your work email address (example: yourname@company.com)
- Your email password
- Your smartphone or authentication app for multi-factor authentication (MFA)
- A stable internet connection (Wi-Fi recommended)
Why Use the Outlook App?
Microsoft Outlook is the recommended app for accessing your work email on Android devices. Unlike iOS, Android doesn't have a built-in email app that works well with Microsoft 365, so Outlook is the standard solution.
Security & Compliance
- Works with all Microsoft 365 security configurations
- Supports Android Work Profile for secure work/personal separation
- Compatible with mobile device management policies
Better Experience
- Seamless sync for email, calendar, contacts, and files
- Focused Inbox helps prioritize important messages
- Integrated calendar and scheduling features
- Built-in file attachments from OneDrive and SharePoint
IT Support
- Fully supported by SmartPath Technologies
- Consistent experience across all devices
- Automatic updates and security patches
Step-by-Step Setup
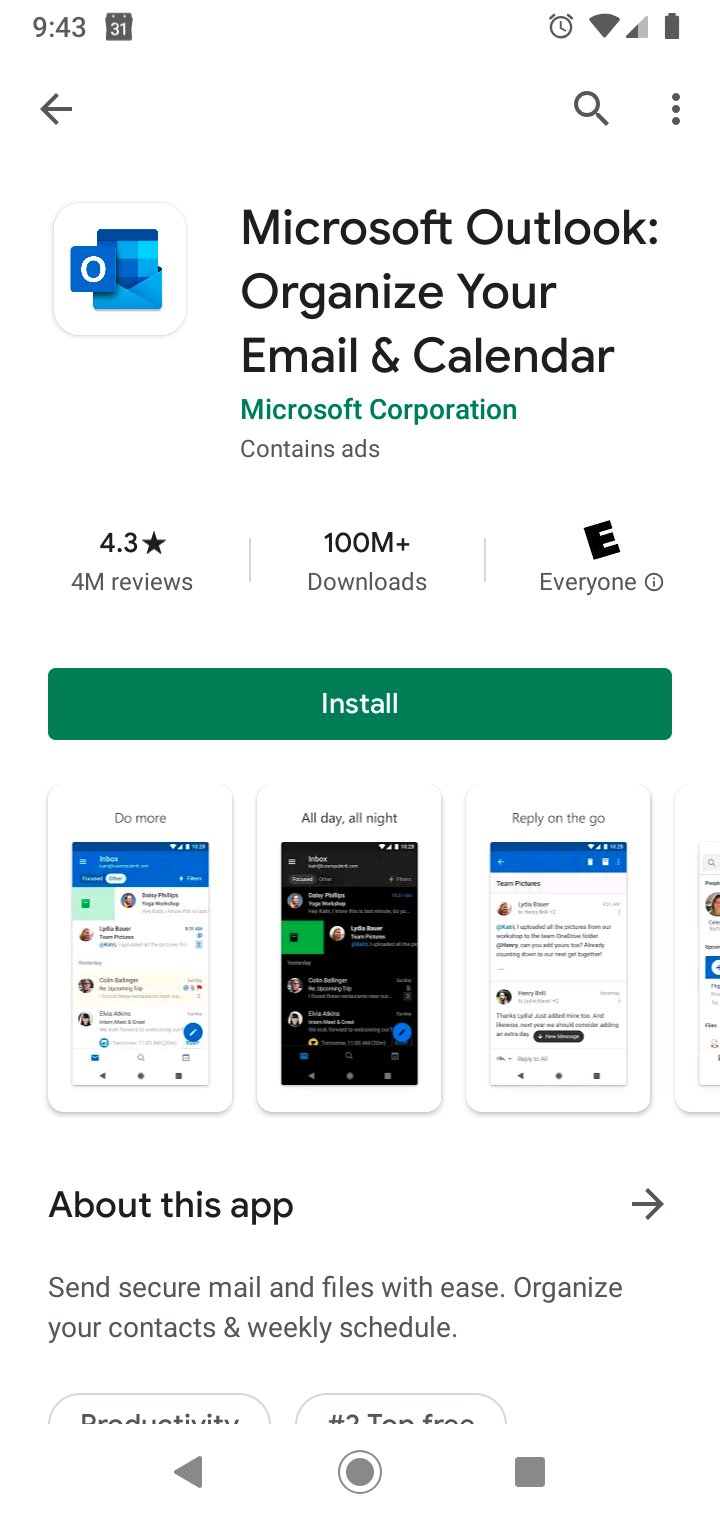
1Download Outlook from Google Play Store
Open the Google Play Store on your Android device. Search for "Microsoft Outlook" and tap Install to download the app. The Outlook icon is blue with a white envelope and "O" symbol.
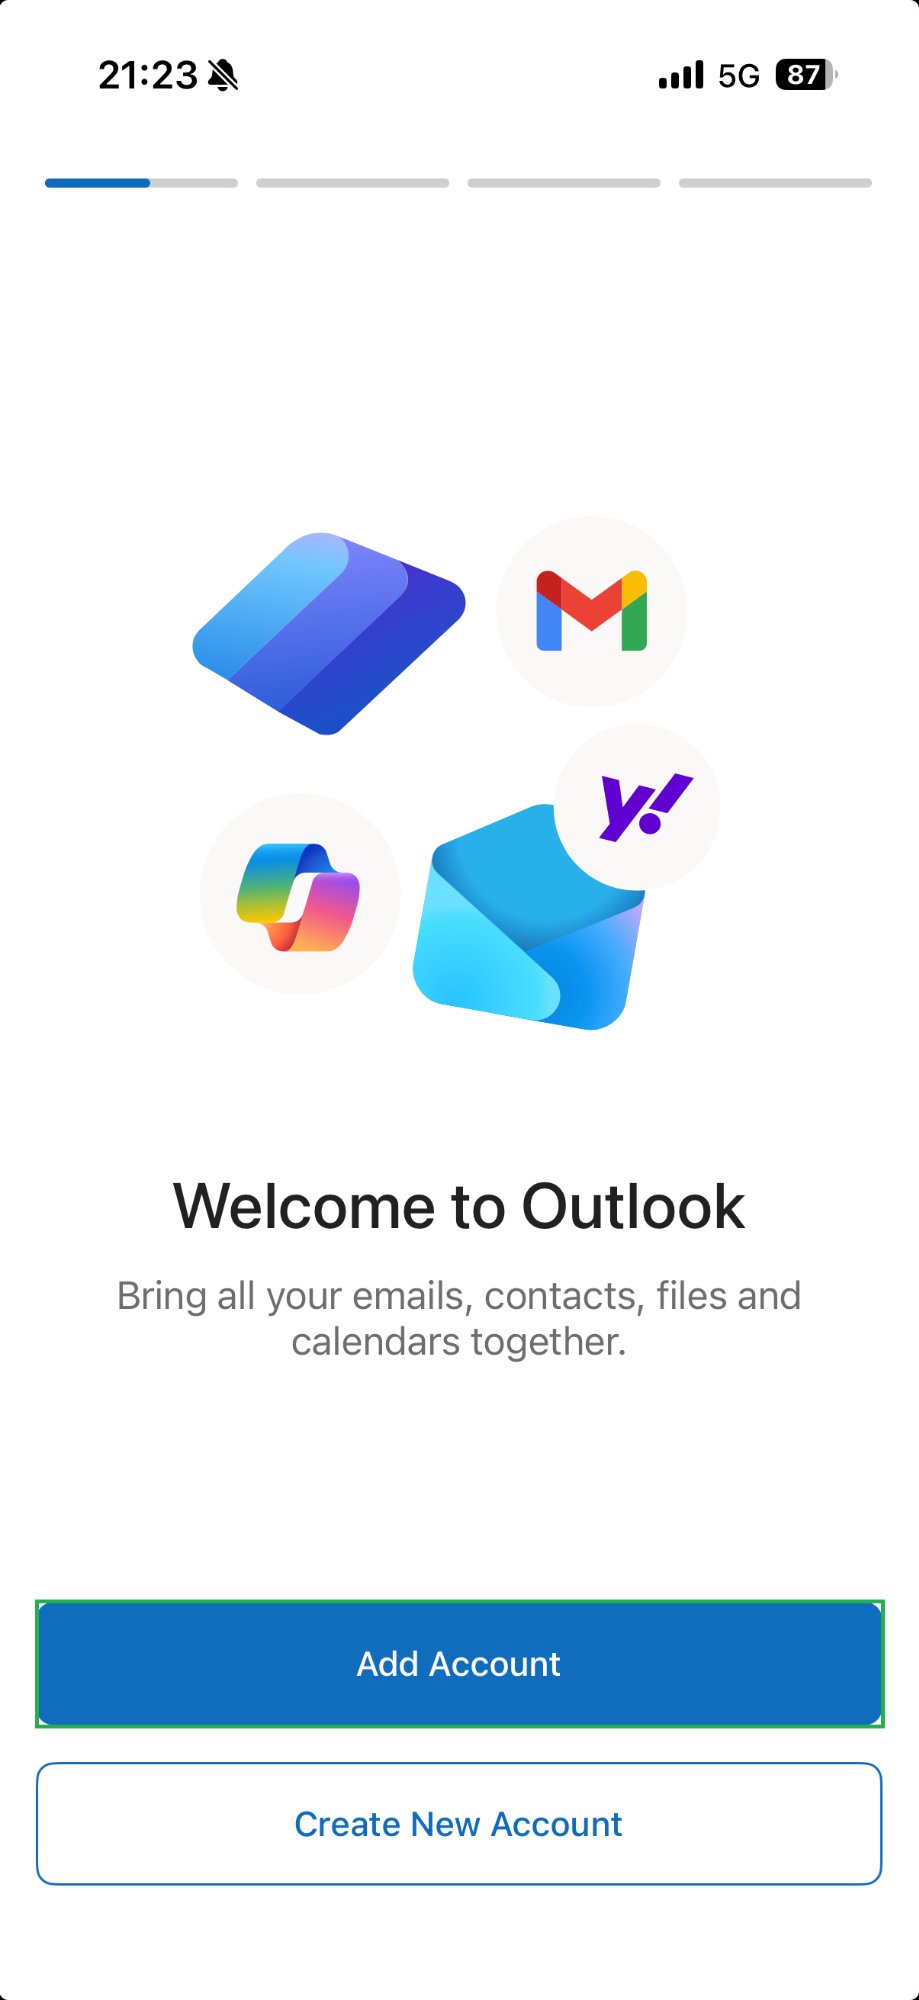
2Open Outlook and Get Started
Launch the Outlook app from your app drawer or home screen. If this is your first time using Outlook, you'll see a welcome screen. Tap Get Started to begin setting up your account.
If you've used Outlook before and are adding another account, tap the profile icon in the top-left corner, then tap Add Account.
3Enter Your Email Address
On the Add Account screen, enter your full work email address (example: yourname@company.com). Make sure to type it exactly as provided by your IT department.
Tap Add Account or Continue to proceed.

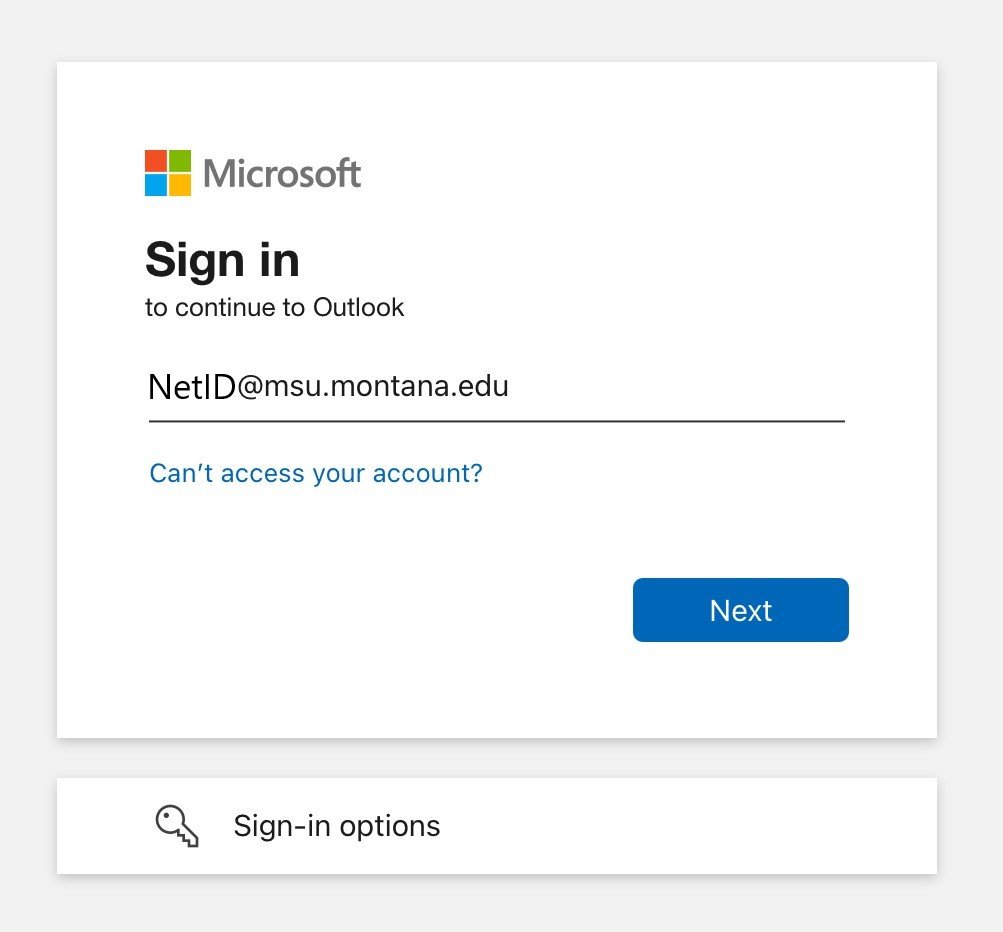
4Sign In with Microsoft
Outlook will redirect you to the Microsoft sign-in page. You'll recognize this by the Microsoft logo at the top of the screen.
Enter your password when prompted, then tap Sign in.
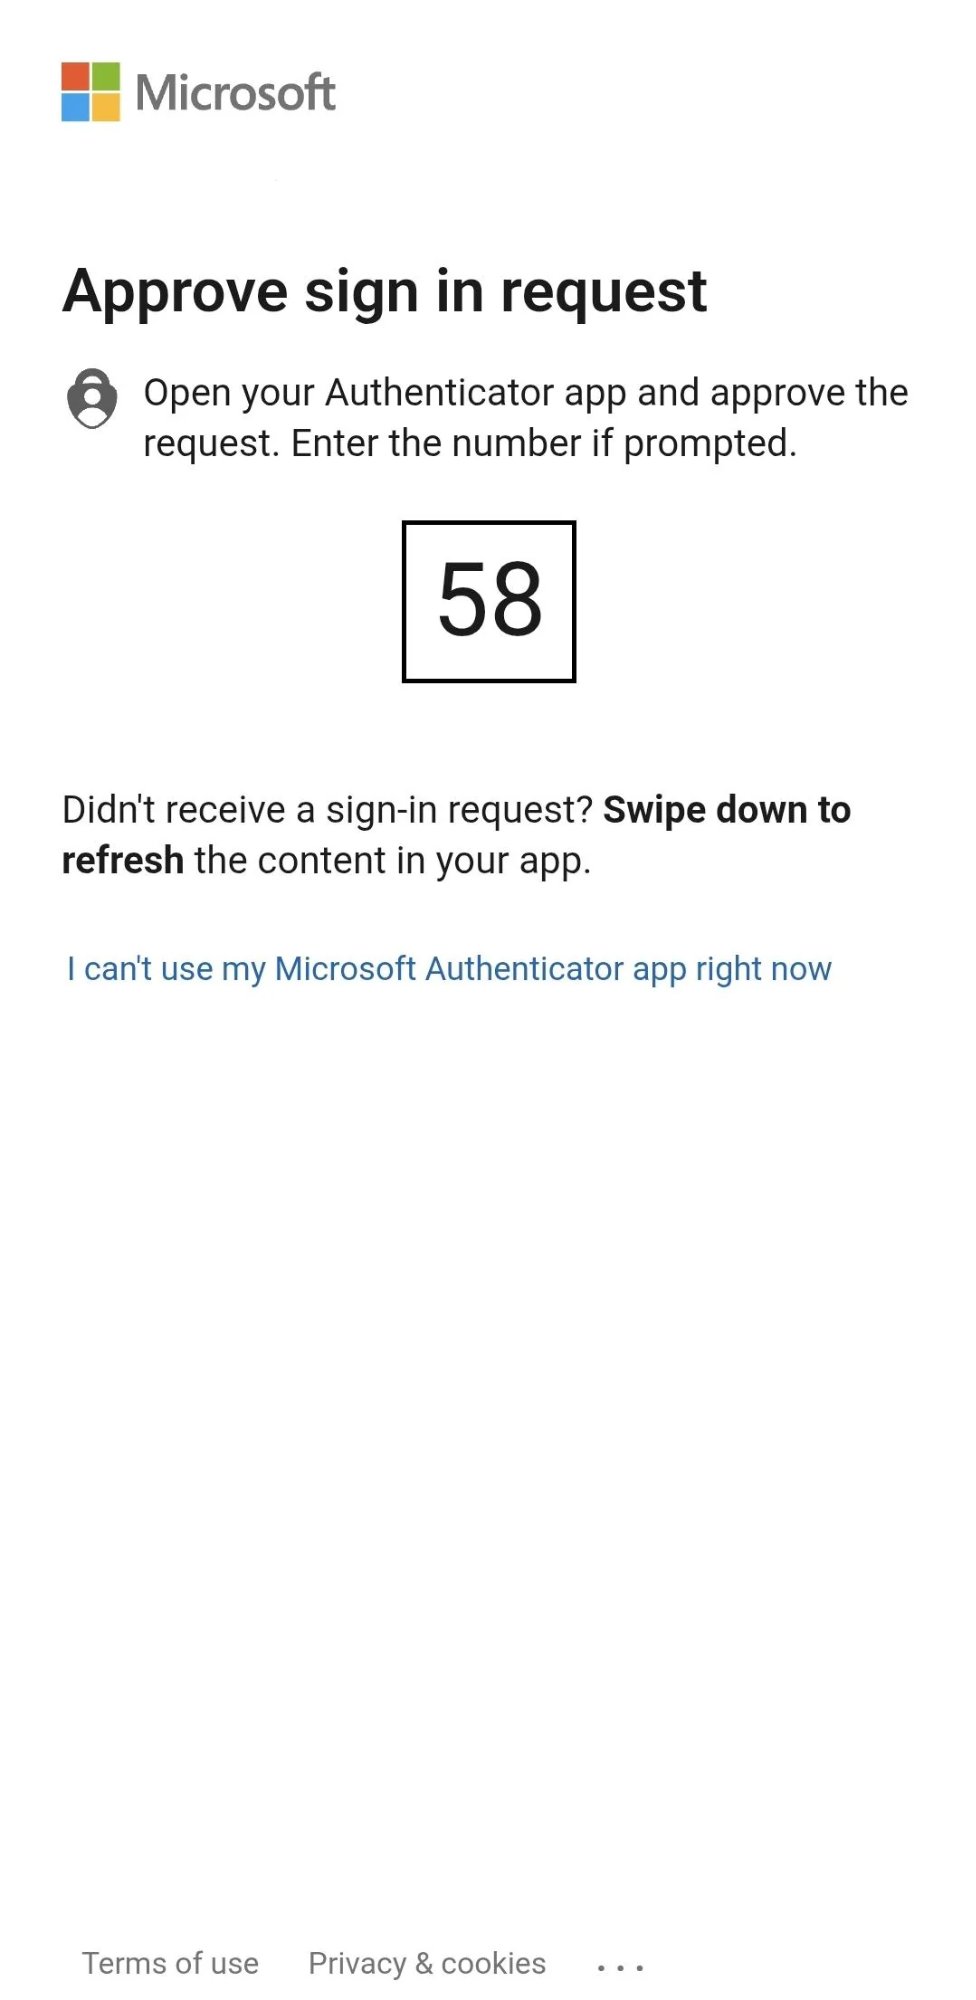
5Complete Multi-Factor Authentication (MFA)
Most organizations require multi-factor authentication for added security. Depending on your organization's settings, you'll see one of these options:
Microsoft Authenticator App
- Open the Authenticator app on your phone
- Tap Approve when prompted to verify your sign-in
Text Message Code
- Check your phone for a text message with a verification code
- Enter the code on the screen
Phone Call
- Answer the call and follow the prompts to verify your identity
Once you've completed MFA verification, Outlook will finish connecting to your account.
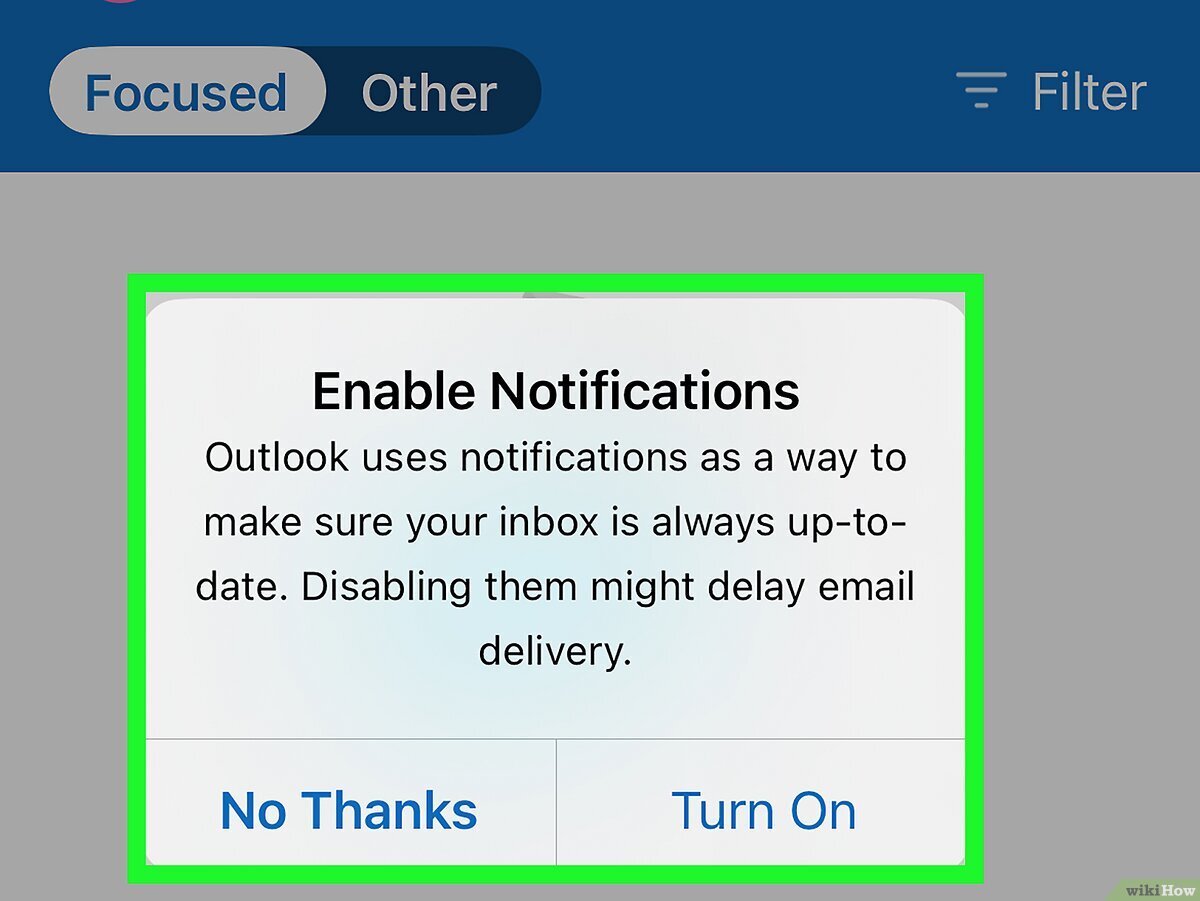
6Allow Android Permissions
Android will ask for several permissions to let Outlook work properly. These permissions are necessary for full functionality:
Permissions you'll see:
- Contacts - Lets Outlook sync your work contacts
- Calendar - Lets Outlook manage meetings and appointments
- Notifications - Alerts you to new emails and meetings
- Storage - Allows Outlook to save attachments
Tap Allow for each permission when prompted. You can always change these later in your Android Settings under Apps > Outlook > Permissions.

7Start Using Outlook
Congratulations! Your email account is now set up. Outlook will begin syncing your messages, calendar events, and contacts.
What you'll see:
- Your inbox with recent emails
- Calendar icon to view meetings and appointments
- Search icon to find emails and contacts
- Settings icon to customize your experience
8Adjust Sync Settings (Optional)
By default, Outlook syncs all your mail, calendar, and contacts. If you want to customize what syncs:
- Tap your profile icon in the top-left corner
- Tap the gear icon to open Settings
- Select your account
- Choose Sync Options to customize mail, calendar, and contact syncing
Optional: Android Work Profile Setup
Some organizations require Android Work Profile enrollment for added security. This keeps your work apps and data completely separate from your personal apps.
When You Might See This
After signing in, you may see a message that says:
- "Set up Work Profile"
- "Your organization requires a Work Profile"
- "Install Company Apps"
What to Do
Step 1: Tap Set Up or Continue when prompted.
Step 2: Follow the on-screen prompts to create your Work Profile. This typically takes 2-3 minutes.
Step 3: You may be asked to set a separate password or PIN for your Work Profile.
Step 4: Once setup is complete, you'll see a briefcase icon on work apps (including Outlook).
Step 5: Return to the Outlook app. Your email will now be fully accessible in your Work Profile.
What is Work Profile?
Android Work Profile creates a separate, secure space on your phone for work apps and data. You'll see work apps marked with a briefcase icon.
Benefits:
- Clear separation between work and personal apps
- Work data is encrypted and secure
- You can turn off work apps during personal time
- Uninstalling Work Profile removes all work data cleanly

Troubleshooting
Can't Sign In or "Unable to Verify Account"
Problem: You see an error message when trying to sign in, or authentication keeps failing.
Solutions:
- Double-check that you're entering your email address and password correctly
- Make sure your MFA device (phone or authenticator app) is working
- Try connecting to a different Wi-Fi network or use mobile data
- If the problem continues, your organization may have security policies that require additional setup. Contact SmartPath Technologies for assistance.
"Work Profile Required"
Problem: You see a message that your organization requires a Work Profile.
Solution:
Follow the steps in the "Android Work Profile Setup" section above. If you have trouble with enrollment, contact SmartPath Technologies for help.
Permissions Denied
Problem: You denied permissions and now Outlook isn't working properly.
Solutions:
- Go to Android Settings > Apps > Outlook > Permissions
- Enable the permissions Outlook needs (Contacts, Calendar, Notifications, Storage)
- Restart the Outlook app
Not Receiving New Emails
Problem: Outlook is connected, but new emails aren't appearing.
Solutions:
- Pull down on your inbox to manually refresh
- Check that you have an active internet connection
- Verify your account is active by signing into email on a computer
- Make sure Outlook has permission to use mobile data (Settings > Apps > Outlook > Mobile data & Wi-Fi)
- Check that Battery Optimization isn't restricting Outlook (Settings > Apps > Outlook > Battery > Unrestricted)
- Try removing and re-adding your account
Outlook App Crashes or Shows Errors
Problem: The app closes unexpectedly or displays error messages.
Solutions:
- Force close the Outlook app and reopen it (Recent Apps > Swipe away Outlook > Reopen)
- Make sure you have the latest version of Outlook (check Google Play Store for updates)
- Clear Outlook's cache (Settings > Apps > Outlook > Storage > Clear cache)
- Restart your Android device
- If problems persist, uninstall the Outlook app and reinstall it from Google Play Store
- Contact SmartPath Technologies if the issue continues
Emails Aren't Syncing Completely
Problem: You can see some emails but older messages are missing.
Solution:
This is normal. Outlook syncs recent messages first to save storage space on your device. To access older emails:
- Open a web browser and sign into Outlook.com or your organization's webmail
- Or adjust sync settings in the Outlook app to sync more mail history
Need More Help?
If you're experiencing issues not covered in this guide, SmartPath Technologies is here to help.
Our support team is available during business hours to assist with email setup, troubleshooting, and any other technology needs.

